
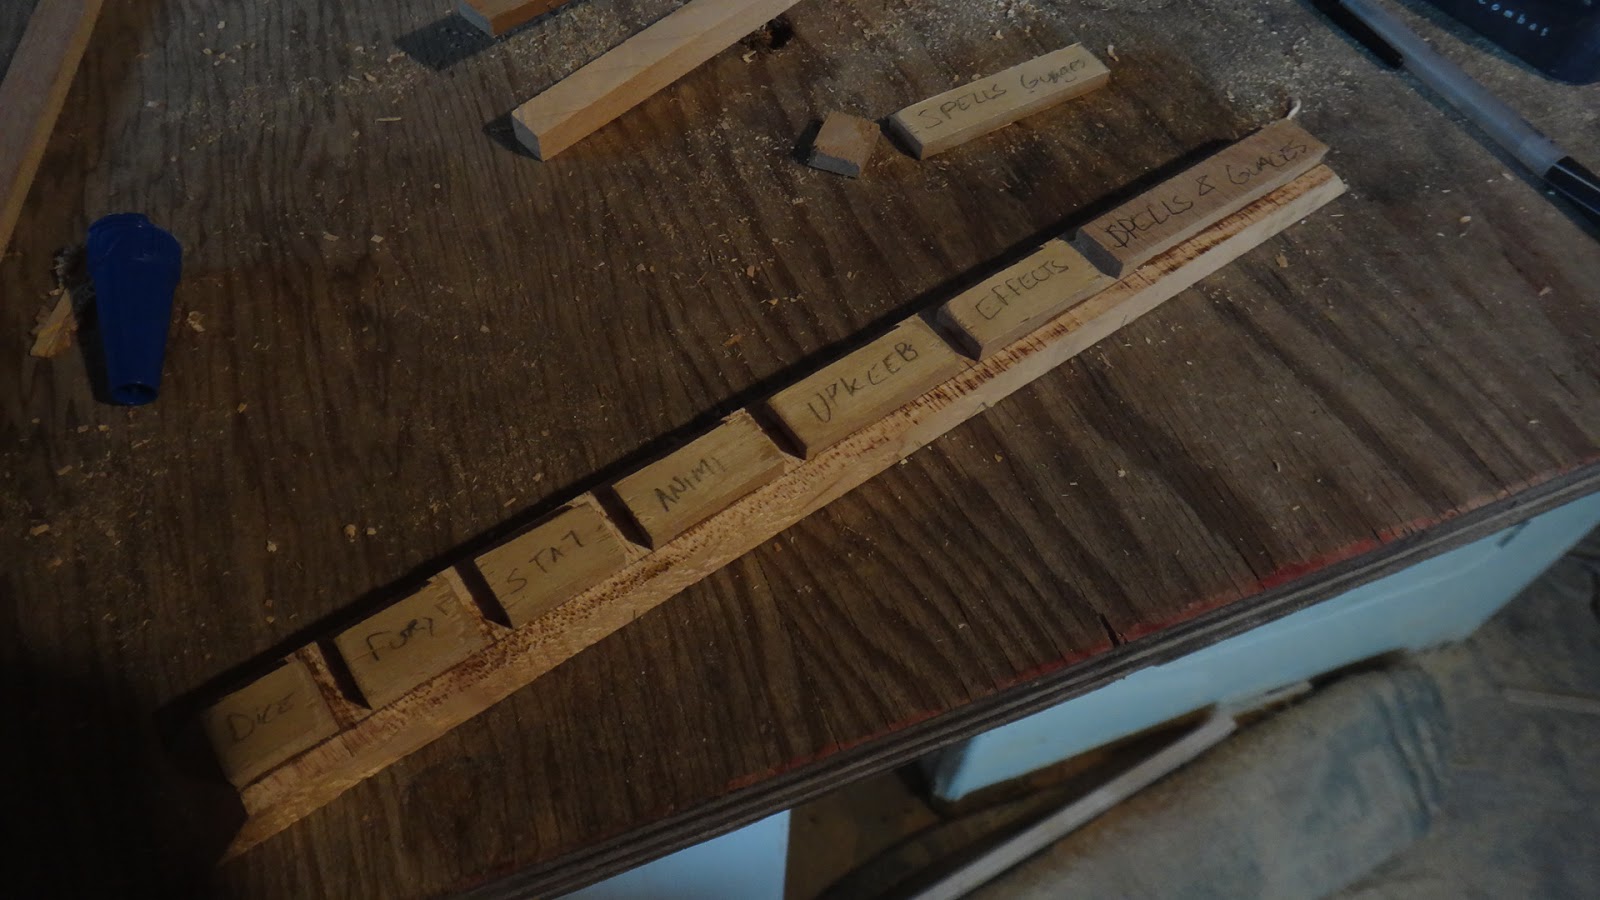
I also like the PP Fury and status tokens as well though. Muse met me halfway and built me a custom order that didn't include the Fury tokens or the walls since I make those as well. I prefer the compact stackable fury tokens Privateer Press does, and the faction sets from Muse don't include any KD, Fire, Stationary or anything else like that. So instead of containing this menagerie of tokens and dice, I put my radial arm saw to use. Below is everything I want in the box, sans the dice.

It needed to fit into my Army Transport bag pocket, so that limited pretty severely in height, but gave me a roundabout 6x12'' square I could play with. Most of the wood is 3/8'' birch plywood. Everything else is leftover hardwood from other projects. Not oak, possibly birch as well. The small town nearby has a family owned mill and they generally have scraps hanging out they sell for cheap. The piece I used for most of this is about an inch thick and I cut it in 7/16ths strips. I had some big plans for pinning, and wood gluing and frames to hold it, but turns out that regular loctite superglue bonds it incredibly quick, and quite solidly.
With my 1x7/16'' strips, I cut narrow strips of my 3/8'' plywood and ran it around the inside to create a ledge to glue the floor too and create grooves to slip my dividers into.


The lid was originally going to sit flush with the top of the box, but when I set my dice in there they were too tall, so I tested the fit in my bag and decided I had enough room to go a bit higher. I cut a panel to slip into the top of the box, cut it short so it didn't cover the dice slot, and then glued more of my strips around the edge to create the lid. It also created a nice area to roll dice as well. Happy Accidents? Is that what we call that?
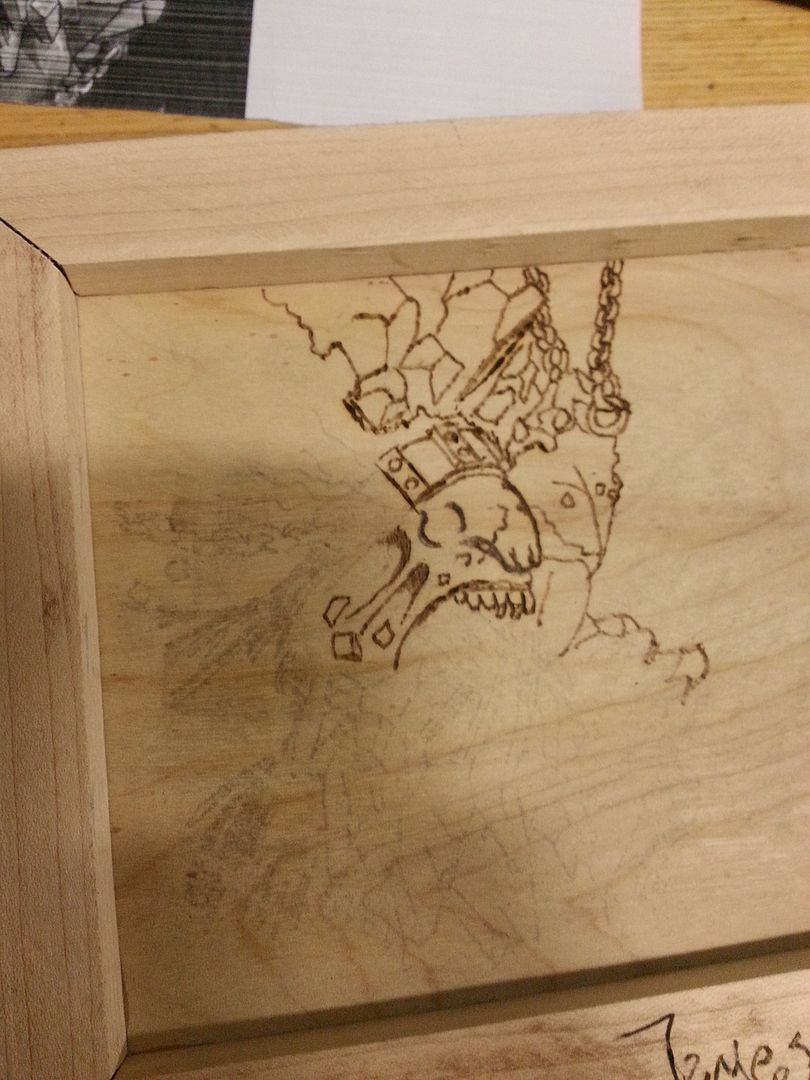
I already planned on doing my name and Diceotfirstdegree into the box, as well as locations for the tokens, but I decided to go big or go home. I printed a greyscale picture of my Mt. King, covered the back of the paper in pencil lead (by literally coloring it with a pencil), then traced the important lines on my King with a pen to lay the graphite down on the board under it. Then I woodburned. I used to woodburn quite a bit in my teens, but it's been several years since.
 '
'
I feel like it turned out pretty well, and I'm happy with it. I woodburned into the slots underneath as well. I filled some cracks, sanded it and prepared it for a stain. I normally stain things dark dark red, but with the woodburning, it hides that. So I went with a lighter red, Colonial Maple I think. I also cut a block to fit into the end and cover the dice. I also chiseled in the spots for the hinges.

Final light sanding after the stain, then added the hardware to call it done. I picked up some brass hinges and corner plates from our local tool place, and then used magnets to lock the box shut. I used 1/4 square rods about an inch long for the bottom, and planned to do that for the top, but realized that my 1/4'' magnets for model magnetization would be way better so I did that for the top. Viola, the completed project.


Fits in the bag like a champ too.
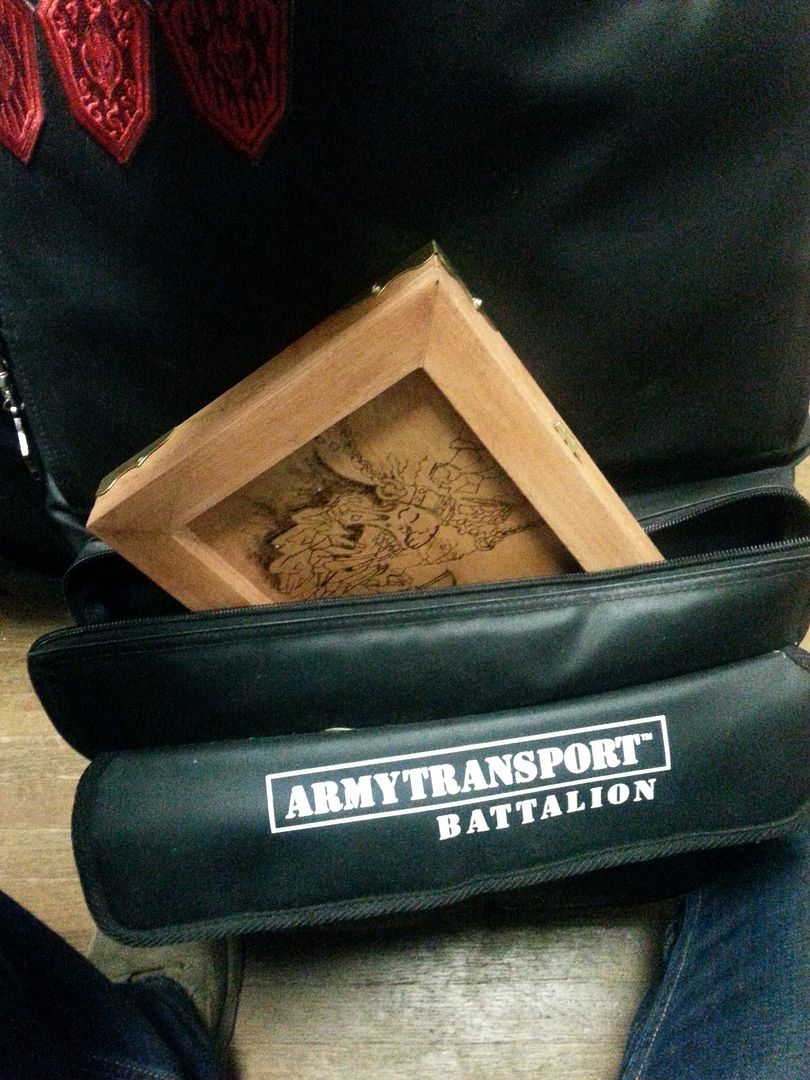

Overall, very pleased with the result, and it probably won't be the last box I make. Probably some pretty sweet doorprize potential here now that I know what I'm doing. Thanks to Muse for the tokens, and I hope you guys have enjoyed this brief walkthrough!
No comments:
Post a Comment