
Battlefoam is expensive. KR Multicase isn't as bad, but it's still out there. So, I set out on quest to figure out something cheaper. My first attempt was a bunch of cardboard dividers for my Cygnar. That's been working ok, but not great. I've come a long ways painting since my trolls, and I definitely wanted foam involved, so I started with a trip to Hobby Lobby. Let's take a look.
First off, you'll need a few things.
1. Foamboard or cardboard. Nothing crazy, just 1/4 foamboard, or cardboard.
2. 3'' Foam for cushion upholstery. Hobby Lobby, Michaels, any craft or DIY intensive store should have it. There's a lot of size variation as far as depth, length and width. I grabbed a 3'' tall chunk, 22'' by 22''. Lots of material to work with, and it cost me 12$.
3. (Optional) 1'' foam of the same style. I haven't done this yet, but I'm going to. It's to go on the bottom of trays to cushion the models it's sitting on.
4. Hot glue gun.
5. Saw of some sort. I have a small bandsaw that works fantastic, but a breadknife or hacksaw blade works fine too.
6. A box, if you're going super cheap like me. It needs to be probably two feet long, and wide enough to set two large-based models, plus 3 inches. Guestimate how much space you need for your bigger models, and don't go by their base size. My Mauler sits on a large base, but his arms stick out much further. Measure that, multply by 2, add 3 inches.
So, here's my filthy work desk (One of 'em), and sheet of paper that came with the foam I got.

It looks like this. Thick enough for most models (My Axer is pushing it), and plenty of stuff to work with.

Cut a foamboard or carboard piece that can drop into your box. It needs to be pretty close, but NOT snug. The foam will already snug the tray up in the box. If the edges of the board are wedged too, this thing will be a beast to get out. Looks like this.


That box measures out 11'' tall, 17'' long, and 8'' wide. I'm telling you, add 3'' to your measurement on your heavies. At least 2 1/2''. I say because of experience. This box will work for now, it's tall enough for 3 3'' trays with room to spare, two heavies side by side, 3 medium based side by side, and 8 medium bases lenthwise. For right now, that's plenty. Here in a few weeks, I'll need a bigger box to accomodate my Mt. King and War Wagon, but I'll probably build a box somehow. I haven't decided on materials yet. This box, I grabbed from the local grocery store's pile.
So, we've cut the tray base. Measure out the length, and cut two pieces about .75'' to 1'' thick, your preference. I get down to a half inch for the Fennblade tray, but I like thicker foam for the bigger, metal models like my Earthborn. Lay beads of hot glue down and set your foam in. You've got a few seconds of adjustment after you set the foam in the glue, so use it.

Trim the ends if needed, and set a heavy in there to check measurements.

Not bad. Now, doing some mental math, because I've magnetized my Mauler kit, it's unlikely that I will ever have more than 4 heavy models. Earthborn, Mauler, Mulg, and whatever the new Trollblood heavy will be, lord willing. So I'm not doing more than 4 spots. If I'm wrong, it's a 6$ fix.

Cut yourself some strips, again, half inch to an inch thick. In this case, I'm going to do this tray half heavy, half medium based, so I cut a piece too thick, 10'' long, and laid it down the middle. Then for the medium based dividers, I cut a brick that matched the width I needed, and then cut the dividers out of that. When I glue them in, I glue the bottoms and sides, push apart the existing walls, set the divider in and push it all together so it glues into the foam beside it.

As a side note, I dabble in a plastic called Kydex. I bought the bandsaw to work with it, and you can see the saw particles all over this stuff.

So here's my heavy tray. I did the outer walls too thick, and could have squeezed more medium bases in there, and as it is, the last two spots aren't going to fit medium bases even. Happily, I've got 2 units of whelps I can dump in there.
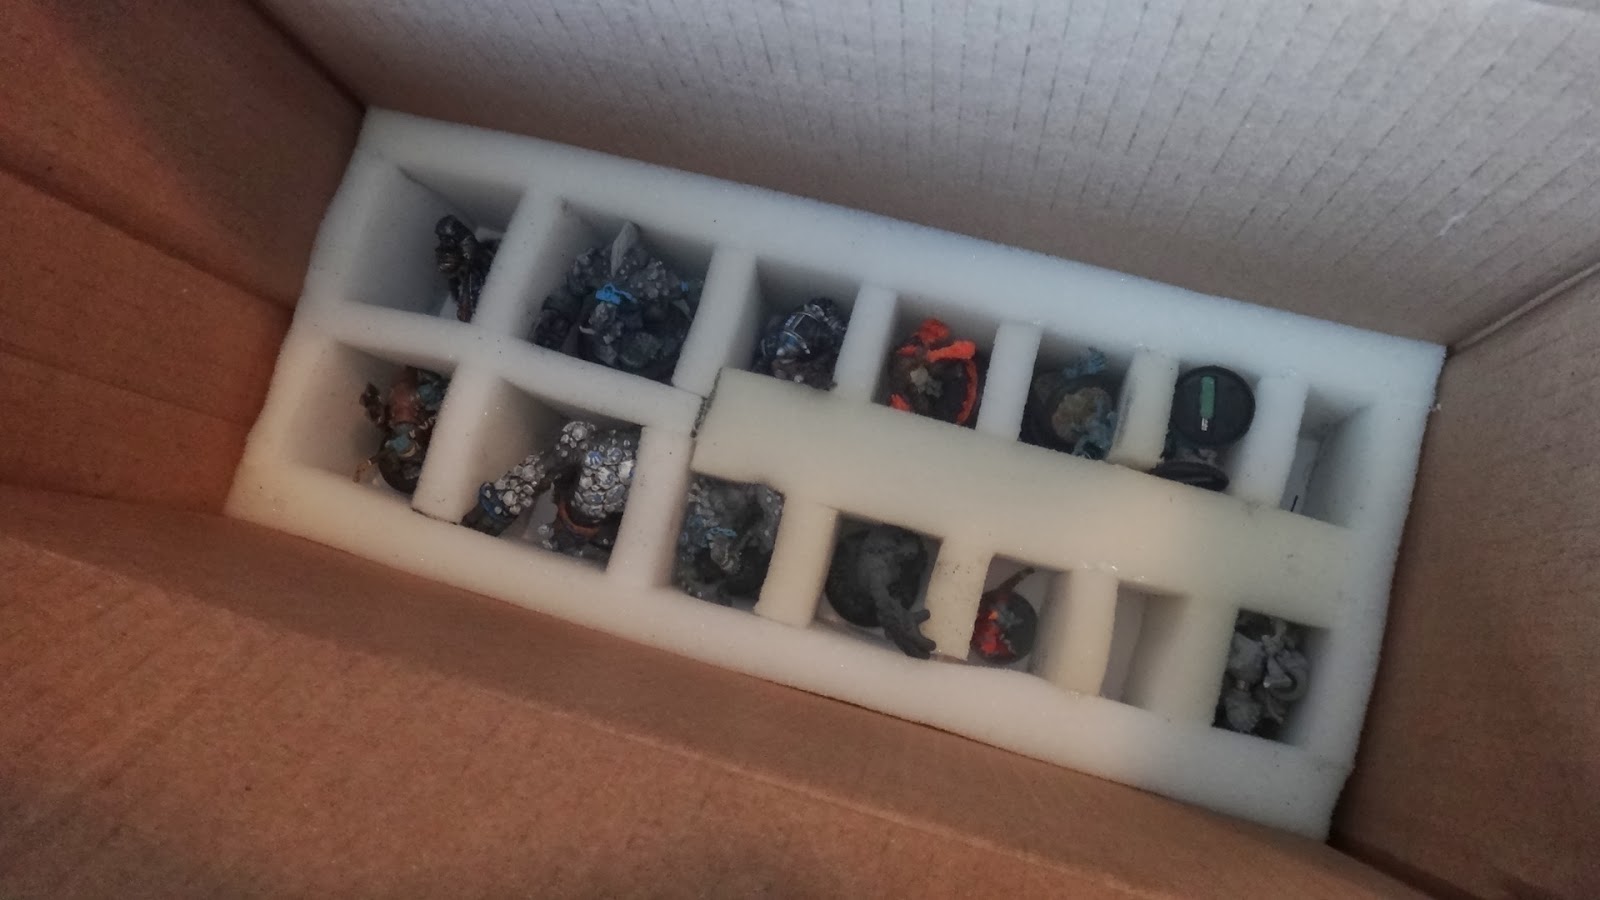
Just like that. So, take the lessons you learned here, and build the next tray.

And viola, we're done! Less than 20 dollars spent, and you've got a completely custom foam tray setup. For colossals, you'll probably need to layer the foam to accomodate the height, but it's manageable. I hope this helps you out and makes your wallet breathe a little easier. Tune in later in the next few days for the first batrep with these guys! eMadrak vs. Mohsar! Where Jedianakinsolo remembers how much he hates pillars of sand.
No comments:
Post a Comment