Showing posts with label sculpting. Show all posts

Monday, February 20, 2017

Quick How-to on Fur Sculpting

  With the recent pickup of the Space Wolves for 30k, I've been doing a lot of Fur Sculpting.  Forgeworld is rumored to produce models specific to the Space Wolf Horus Heresy line, but I'm not that patient, or completely convinced that I'll prefer them (or their cost) to what I can do with what I already have done.  At request from the Space Wolves 30k page, I put together a quick basic how-to on fur sculpting.


  I'm not a fan of the recently released wolves for Leman Russ, so in this tutorial, I'm converting the ones from the Logan Grimnar Wolf Rider kit.  They've got some spots on the shoulders where the harness glues in, and there's a belt around the abdomen.  There's also some fur detail missing on the hind quarters that they expect to cover with the harness that I need to fill in.

  What you'll need is green stuff, moisture source and a tool or two.

  I've got a little tin with water in it.  Some guys keep some moisturizer or something on a thumb nail and apply it to their fingertips or tools when needed.  The biggest problem is catching your tool or fingers before they've dried enough to start dragging your material around and misshaping it, undoing work you've been doing.  If it sticks at all while working it, you're too dry.  The trick is to catch it before you hit that point, but without over applying it and getting your green stuff too soft.

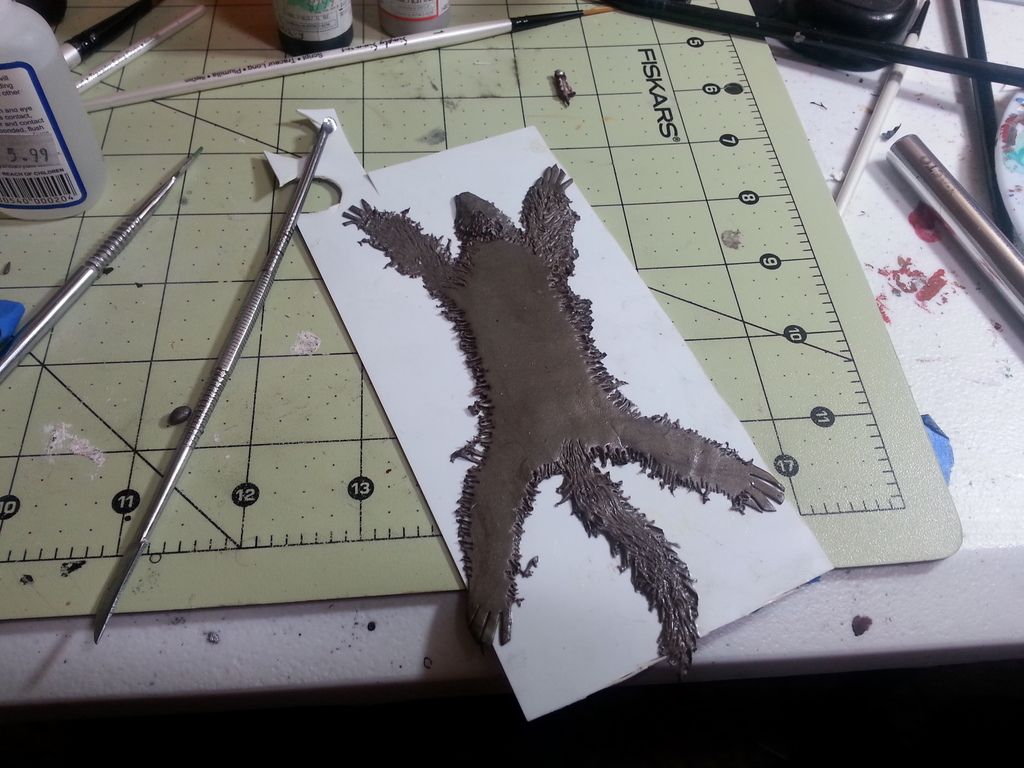
  I've got three or four different shapers, but my favorite tool for fur is the standard GW shaping tool.  It's got a pointed blade on one end, and a flat round on the other.  The round is good for smoothing stuff out, the point it good for the edges and fur.


  So, here's the gaps on the shoulders and the belt.  I cut off the peg on the top and I'll do a belt on most of waist and on the hindquarters where there's a lot of fur missing from the molding process.  The harness would normally cover it but since we're not using it, I've got to sculpt it.


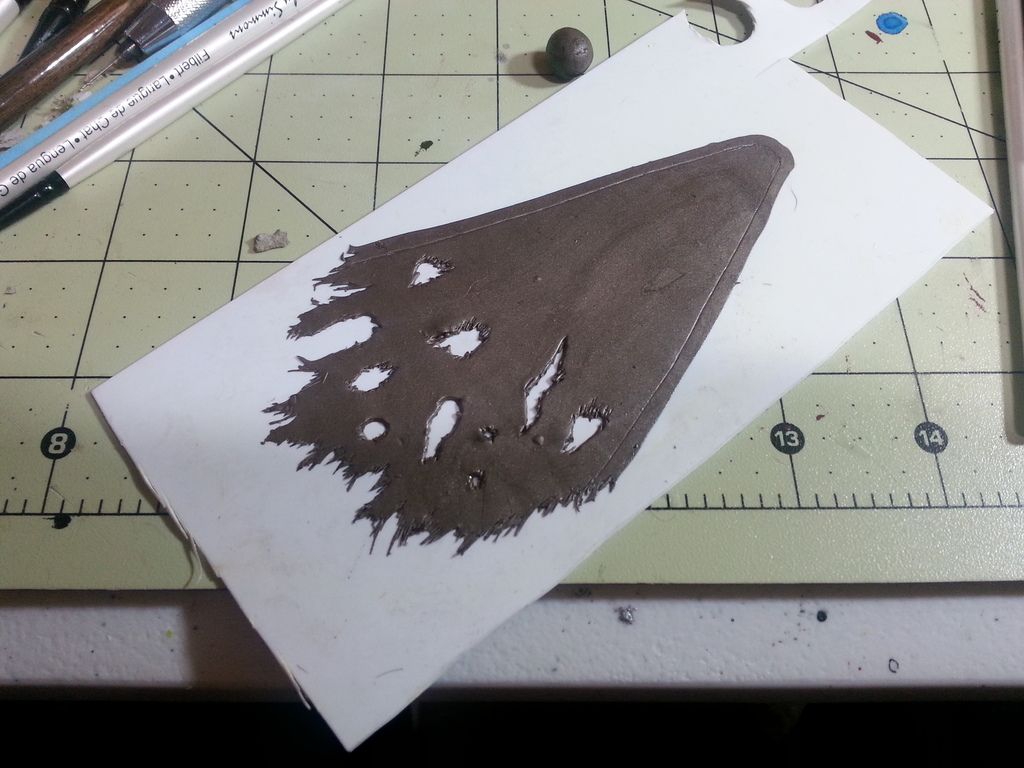
  I'll start with what every sculptor starts with, some globs of green stuff.  If you're doing a shoulderpad or patch of fur on the torso or whatever, a glob is generally what I do.  If I'm doing a cloak that's going to flow a little independently from the model, I'll usually sculpt it out on a flat surface and let it dry for 45 minutes to an hour depending on how much moisture I had to apply during the sculpting process.  Then I'll peel it up and apply it to the model and shape it while it's mostly dry so it stays in place for the most part.

  For what I'm doing here, we won't need anything that complicated.  I'll start with a glob on each gap in the shoulder blades here.


  Here's my tin and my green stuff I'm pulling from. 


  I smoothed out the spot a little and now I'm using that blade to work this fur into the plastic fur.  On a flat surface like armor, just drag it out like strands of fur.  Here, I'm dragging them into the fur and trying to reduce the edges.


  In the case of a patch of fur on armor, your texture can be whatever you want, but in this case, I'm attempting to match the fur to the area around it.  Your texture can be fine or as rough as you want, and here on this shoulder, it's pretty coarse.  Try and match it.


  Now I'm adding this band around the middle to hide the belt.


  Again, trying to match the texture here.  It's a bit finer at the abdomen than it was on the shoulder.


  I'm going to repeat the process on the hind quarters, and again on the other wolf.  


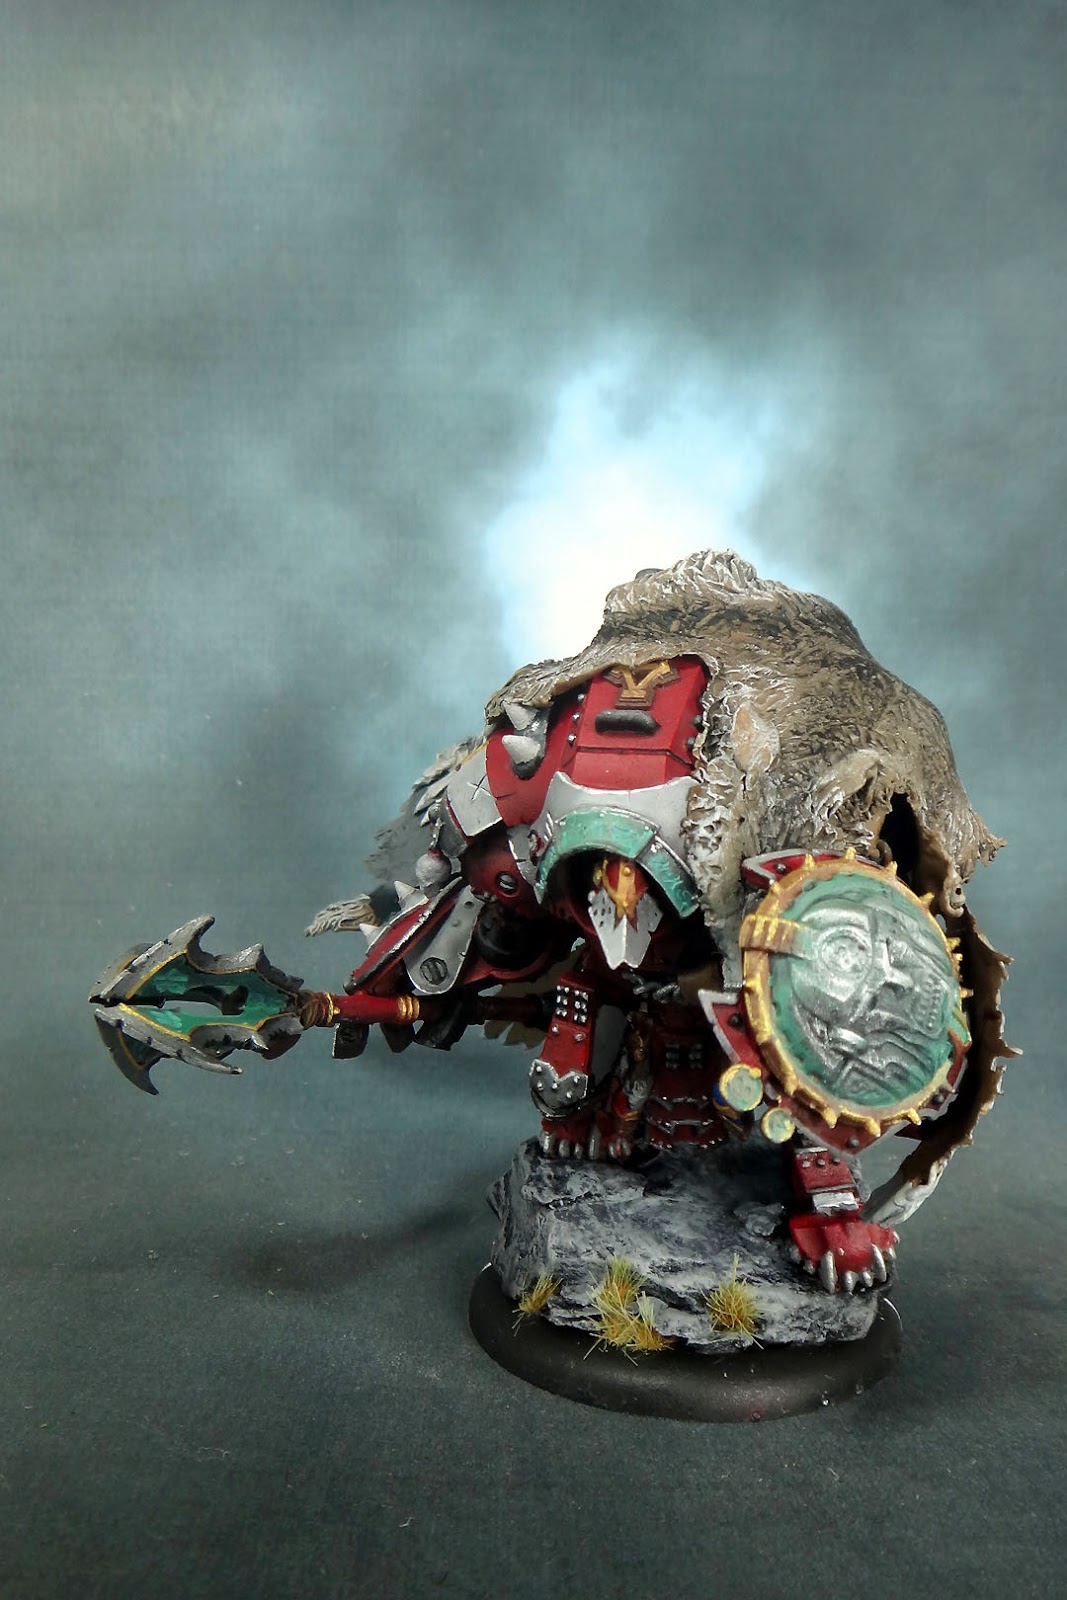
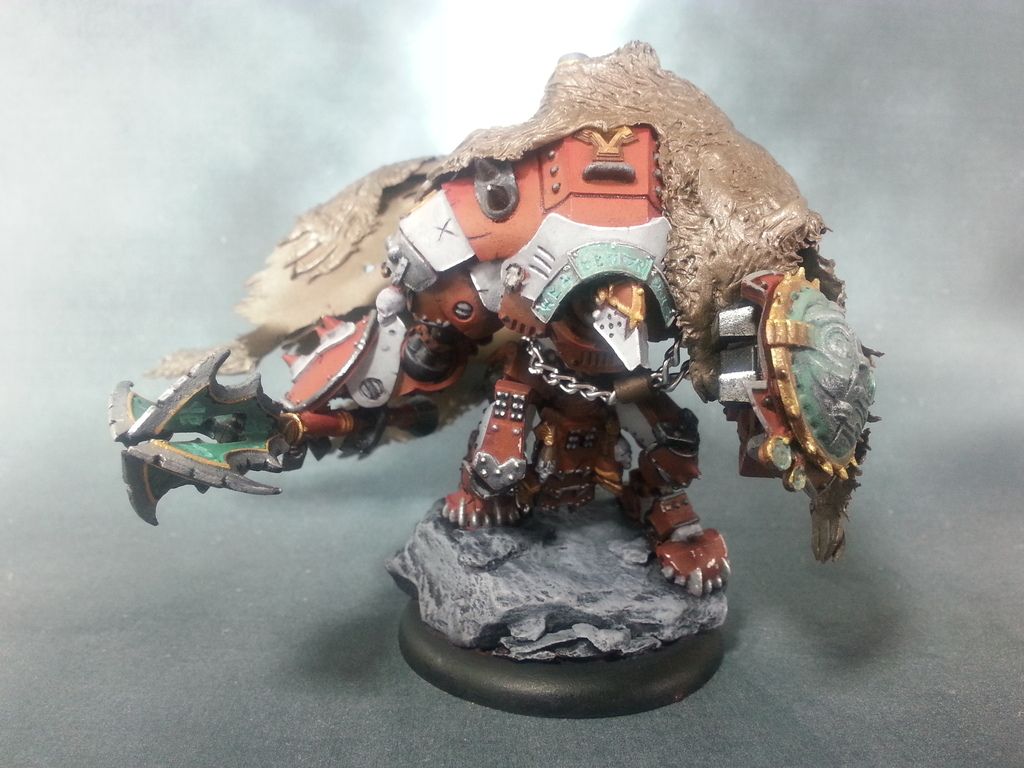
  I'll get these guys primed up, basecoated, based and painted and they'll be running around with Russ in no time.

  Here's a couple of vets I've done.  I did this kind of work on every Marine in my units, trying to keep the cohesive Space Wolf feel.


   The fur isn't painted yet in this case.  The below pictures are my completed models to date.  A Contemptor, 3 praetor/HQs and a unit of Tacs.  I've got four or five units that are assembled, fur sculpted on, based and basecoated, but they're in line to be painted.  Just in a playable state right now.


  That's it for now.  Hopefully this short walkthrough can get you started with wolf pelts for your own wolves.  Feel free to comment with critiques, questions and comments.

Sunday, July 5, 2015

Ruin Commission w/ Hand Sculpted warpwolf/flag cape

  I finished it.  I've had this model... two months maybe.  Painting it took awhile, but with the holiday weekend I was able to burn through the cape pretty quickly.  That being said, the cape was easily one of the most frustrating things I've ever had the pleasure of working with.  I don't know if PP's stuff is better than Greenstuff or not.  I haven't actually greenstuffed an item this large before.  I need to now, but once PP's Greystuff hits about 45 minutes to an hour, it's pretty much stuck in place, but at the same token, will sag if you're trying to get it to support itself.

  I painted the warjack, pretty much sealed it and then began working the cape.  I did the flag part first, then ran the warpwolf on top with all the lessons I'd learned from the cape.  I initially rolled the cape too thin, so it was difficult to keep in place.  The wolf I may have gotten too thick, but it worked out.  I've got WIP pictures after the final product.  Let's hit the high point first, shall we?

 Note:  After posting all of these nice pics I realized I forgot to glue the medals back on after gluing the chain on from the cape.  This first picture, I went and got for the medals, but everything else, they're still missing.


  So the WIP.  I started with repositioning most of the model, getting a far more aggressive stance in place.  I modded the right hand to get a looser grip on the axe/mace so I could swing it out farther from the model like he was getting momentum going.  Then I airbrushed red, highlighted, moved to white, did all the metals, touched up minor details and one-off colors and moved onto the cape.


  I rolled out PP's greystuff, let it dry a little bit and then cut the holes into it, dragging fringes out with the tool and giving an edge.  I then let it dry for a total of 45 minutes.  This was too much time, and I really struggled to get good bends into the "fabric".  The issue though is that any less time and the sculpting material doesn't support itself.  What ended up working for me though was blue painters tape.  It sticks to the sculpt, but doesn't remove paint or change the texture.  So, using the tape, I supported the cape as I wanted, taping it to a box or whatever I need to get the angles and let it dry for the night.


  Then we moved onto the Wolf. I rolled out a basic outline, considerably thicker than the cape had been.  I used the tool (The GW standard Greenstuff tool) to drag out the edges for hairs and then drag all through the pelt for the fur itself.  At first it's pretty daunting, but you get the hang of it pretty quickly.  It's literally just dragging the tip through the clay, almost as it you're edging with a brush.


  Keep your tool wet.  Once it starts drying, it starts literally dragging material and tearing rather than just indenting so much.  The smooth motion is what you want for hte fur.


  I laid the wolf pelt over the cape and did the bluetape trick again.


  The chain you see I put in the cape by folding the narrow end of the cape over the chain and glueing it in place to secure the chain, then wrapping a small strap of material around the joint.  That got me to this point.


  Today, I finished a few minor details on Ruin, and then painted the cape.


  Altogether, this landed me this guy.


  I'm super pleased with how this has turned out, and I think it's probably my best work actually.  Between the sculpting skills, the airbrush, and the hand painted detail, I'm really excited to see how he turned out and I hope I've met the customer's expectations.  Leave any comments, critiques or outright insults and enjoy!